How to Take a Screenshot on Any Device (2026)

Everyone knows how to take a screenshot on the device they use daily. The trouble starts on someone else’s machine, where the key you reach for does nothing and the capture you need is five minutes away.
This covers all four platforms, plus the two things most guides skip: scrolling captures for long pages, and where the file actually lands afterwards.
Windows: three methods, one worth memorising
Windows gives you several ways to capture the screen, and they behave differently.
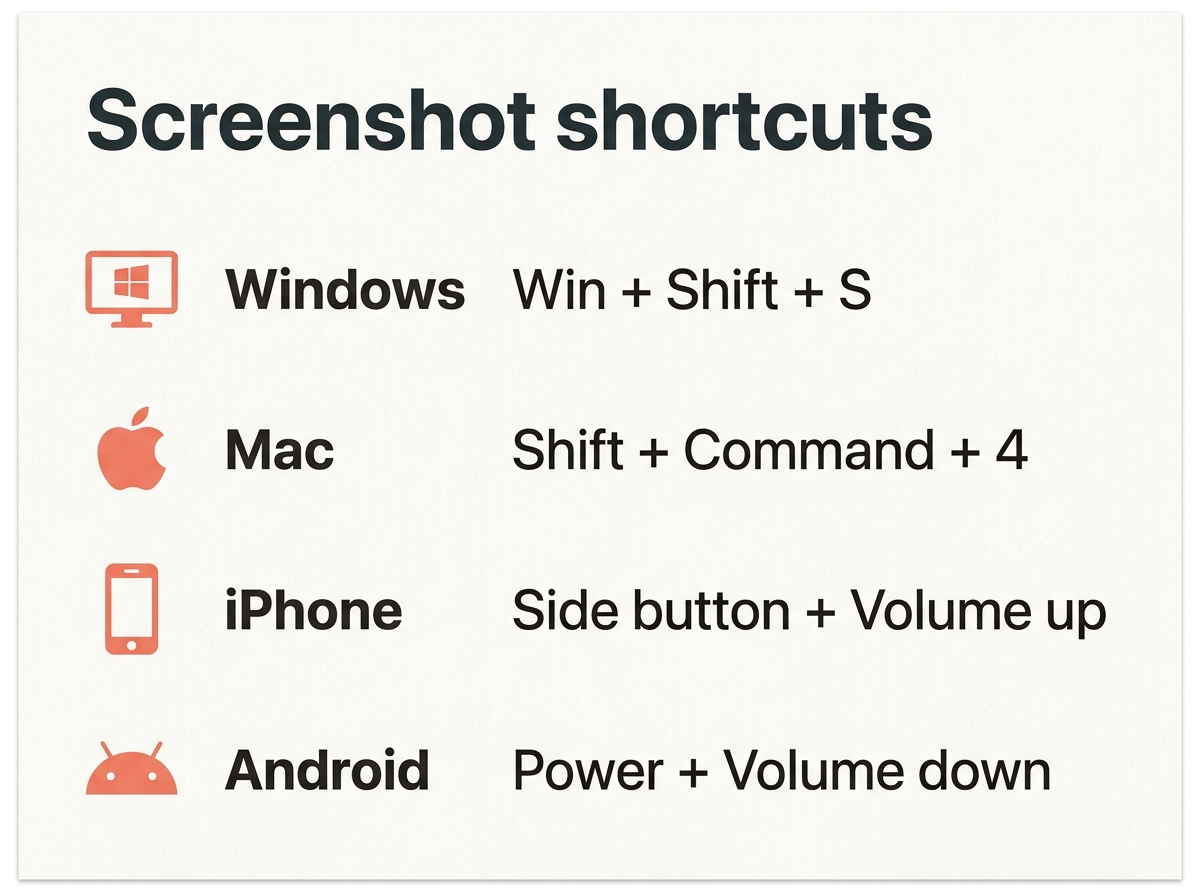
- Win + Shift + S opens the snipping overlay. Press Windows + Shift + S, select the area you want to capture, and the image goes to your clipboard, ready to paste. A notification lets you open it in Snipping Tool to edit or save. This is the one to learn.
- Win + Print Screen grabs the entire screen and saves it straight to a file, in Pictures then Screenshots. No pasting needed.
- Print Screen alone copies the entire screen to the clipboard without anything being saved. Useful when you are pasting into a chat and do not want a file left behind.
Add Alt + Print Screen if you want only the active window rather than everything on screen. To grab one window and nothing else, that is the fastest route.
The Snipping Tool itself is worth opening once. It can delay a capture by a few seconds, which is the only reliable way to screenshot a menu that closes the moment you press a key.
Mac: the shortcuts Apple documents
macOS uses three shortcuts, and they are all built around Shift and Command.
- Shift + Command + 3 captures the entire screen.
- Shift + Command + 4 turns the pointer into crosshairs so you can drag over an area.
- Shift + Command + 4, then Space turns the pointer into a camera. Click the window or menu you want and it is captured complete with its shadow.
- Shift + Command + 5 opens the Screenshot app, with capture options and screen recording in one toolbar.
By default these save to your desktop with a filename built from the date and time. Apple’s own support page documents the shortcuts and the save location, and the Screenshot app lets you change where files go if a cluttered desktop bothers you.
Hold Control with any of these and the capture goes to the clipboard instead of becoming a file.
iPhone and iPad
Which buttons you press depends on how your device unlocks.
On models with Face ID, press the side button and the volume up button at the same time, then release both immediately. On models with a home button, press the home button and the side button together.
A thumbnail slides into the bottom corner. Tap it to annotate or crop right away, or swipe it aside and find the image in Photos under Screenshots. Ignore the thumbnail and it disappears on its own after a few seconds.
Android
Most Android phones use the same combination: press the power button and volume down together, briefly. The screen flashes and the capture lands in Photos or the Gallery, usually in a Screenshots folder.
Manufacturers add their own methods on top of that. If the button combination fails on your Android device, hold the power button and select the Screenshot option in the menu that appears. Samsung devices also support a palm swipe across the screen once you enable the feature in settings. Other makers hide something similar under gestures.
How to take a scrolling screenshot
A normal capture stops at the edge of the screen. For a long web page or a chat history, you want a scrolling screenshot, and support for it varies.
On an Android device, take a regular screenshot and watch the toolbar that appears. Samsung and Pixel phones show a scroll capture or extended screenshot option. Select it repeatedly until the preview covers the area you want to capture.
On iPhone, take the screenshot, tap the thumbnail, then switch from Screen to Full Page at the top. This works inside Safari and a handful of other apps, and it saves as a PDF rather than an image.
On a Mac or PC, the operating system cannot manage a scrolling screenshot alone. Use the browser instead. Firefox has a built-in full page capture in its right-click menu, and Chrome can do it through developer tools or an extension. For anything outside a browser, a dedicated capture tool is the only option.
Where your screenshots are saved
This is the question people ask after the fact, usually while searching a cluttered desktop.
| Platform | Default location |
|---|---|
| Windows (Win + PrintScreen) | Pictures, then Screenshots |
| Windows (Win + Shift + S) | Clipboard only, unless you save it |
| Mac | Desktop |
| iPhone and iPad | Photos, Screenshots album |
| Android | Gallery or Photos, Screenshots folder |
The clipboard-only methods catch people out most often. Nothing is saved to disk, so if you snip, get distracted and then copy something else, the image is gone for good.
Annotate before you share
Every platform now includes basic markup, and using it saves a round of questions.
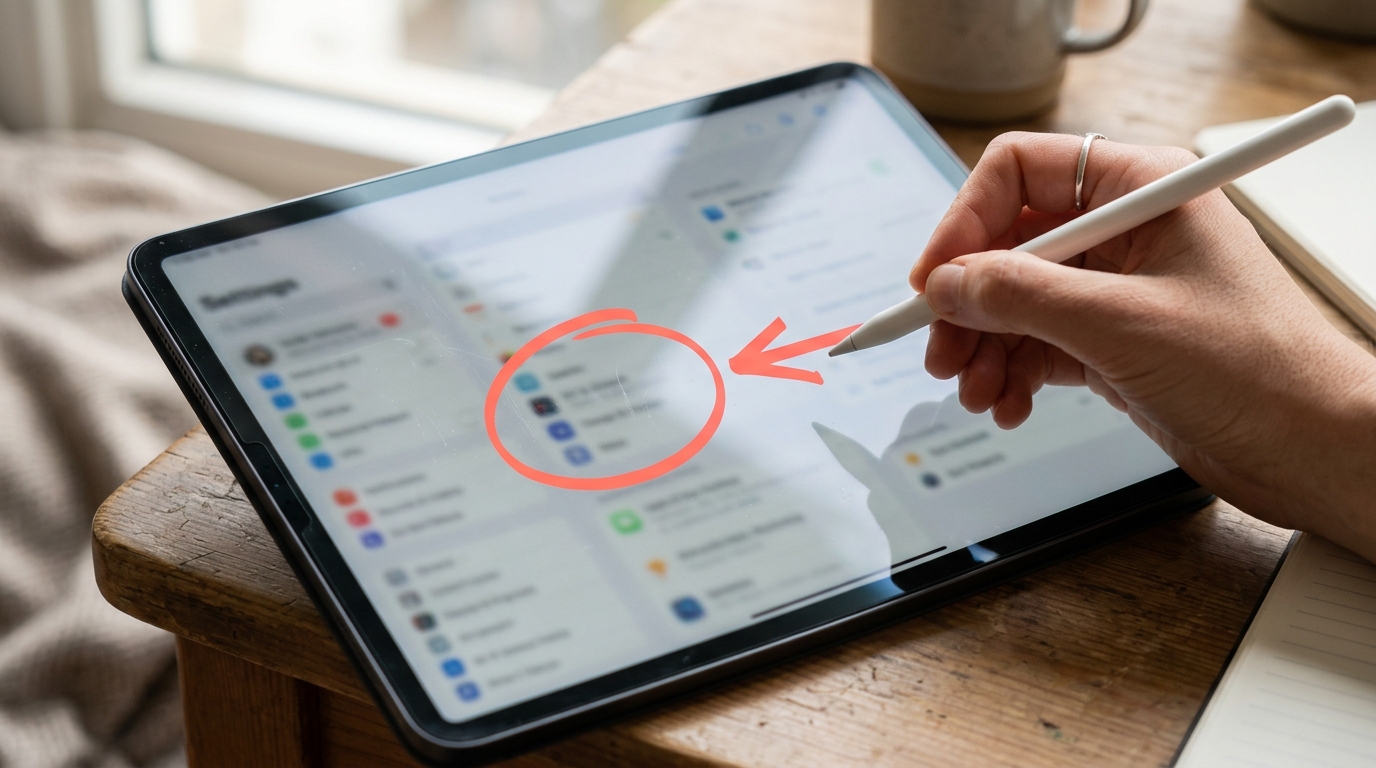
On iPhone and Android, tap the thumbnail or the pencil icon straight after capturing. You get a pen, a highlighter and usually a text tool. On Windows, click the notification and the Snipping Tool opens with the same options. On Mac, click the thumbnail in the corner before it fades.
Two habits make a screenshot genuinely useful to whoever receives it. Circle or arrow the thing you are talking about rather than describing where it is. And blur anything private before the image leaves your device, because an email address or an account number in the corner of a capture is the most common accidental leak there is.
What to do with the file afterwards
Screenshots are bigger than people expect. A full screen capture on a modern display can easily pass 3 MB as a PNG, which is awkward to email and slow to load anywhere.
Three quick fixes before you send one anywhere:
- Run it through an image compressor to cut the size without a visible difference.
- Convert PNG captures with our format converter. WebP typically halves the file size and every current browser displays it.
- Trim away the parts nobody needs with the image cropper. A cropped screenshot is clearer and smaller at the same time.
All three run in your browser, so the capture never leaves your device on the way.
Quick answers
How do I screenshot just part of the screen?
Win + Shift + S on Windows, Shift + Command + 4 on Mac. Both let you drag over the area you want. On phones, take the full screenshot and crop it afterwards.
How do I take a screenshot without pressing buttons?
On Mac and Windows, open the Screenshot app or Snipping Tool and capture from there. On Samsung phones, enable palm swipe in settings. iPhones can trigger a capture through Back Tap, under Accessibility.
Why is my screenshot not saving?
On Windows you probably used PrintScreen or Win + Shift + S, which only copy to the clipboard. Use Win + PrintScreen if you want a file. On phones, a full storage volume is the usual cause.
Can I screenshot a video or a streaming app?
Sometimes. Many streaming services block captures and give you a black rectangle instead. That is a deliberate restriction and there is no setting that turns it off.
How do I capture a menu that closes when I press a key?
Use a delayed capture. The Snipping Tool on Windows and the Screenshot app on Mac both offer a timer, which gives you time to open the menu before the capture fires.
The shortcuts worth memorising
If you only keep four things from this, make it these:
- Windows: Win + Shift + S
- Mac: Shift + Command + 4
- iPhone: side button and volume up
- Android: power and volume down
Everything else is a variation you can look up when you need more. These four cover the shot you are most likely to take today, and they work the same way on any machine you sit down at.