How to Convert HEIC to JPG on Any Device

You transfer a batch of photos from an iPhone, and half of them show up as grey icons on the PC. The file ending is .heic, Windows shrugs, the web form rejects them, and the print service wants JPG. Nothing is broken. The photos are simply stored in a format most of the world outside Apple still does not read.
The conversion takes seconds once you know where the option hides on your Mac, PC or phone. Here is where it hides, plus the few things worth knowing about image quality and file format before you convert a whole library.
What is a HEIC file, and why does my iPhone make them?
HEIC is the file extension for images stored in HEIF, the High Efficiency Image Format. Apple adopted this new format with iOS 11 in 2017, and since then every iPhone and iPad saves photos as HEIC by default. The reason is storage: a HEIC image holds the same photo at roughly half the file size of a JPEG image, with support for 16-bit color, transparency and sequences such as Live Photos and bursts.
Apple’s own overview of HEIF and HEVC media lists which devices can capture and open the format. Outside that list, support thins out quickly. Windows needs an extension, many web forms and content management systems reject the format, and older image viewers, printers and photo kiosks have never heard of it.
The JPEG format, by contrast, works everywhere. That is the whole reason for the conversion.
Does converting HEIC to JPG lose quality?
A little, and in practice you will not see it. HEIC is itself a lossy format, so the image already went through one compression when the camera saved it. Converting to JPEG adds a second pass. At a quality setting of 90 or above the difference in image quality is invisible at normal viewing size. However, the JPEG image will be larger than the HEIC original, usually by 50 to 100 percent, because JPEG is the less efficient format.
Two things do change. HEIC photos with depth maps, Live Photo motion or 16-bit color lose those extras, because the JPEG format cannot store them. And a HEIC image that contains several images, such as a burst, becomes one JPEG of the main frame. For ordinary photos neither matters.
How to convert HEIC to JPG in your browser
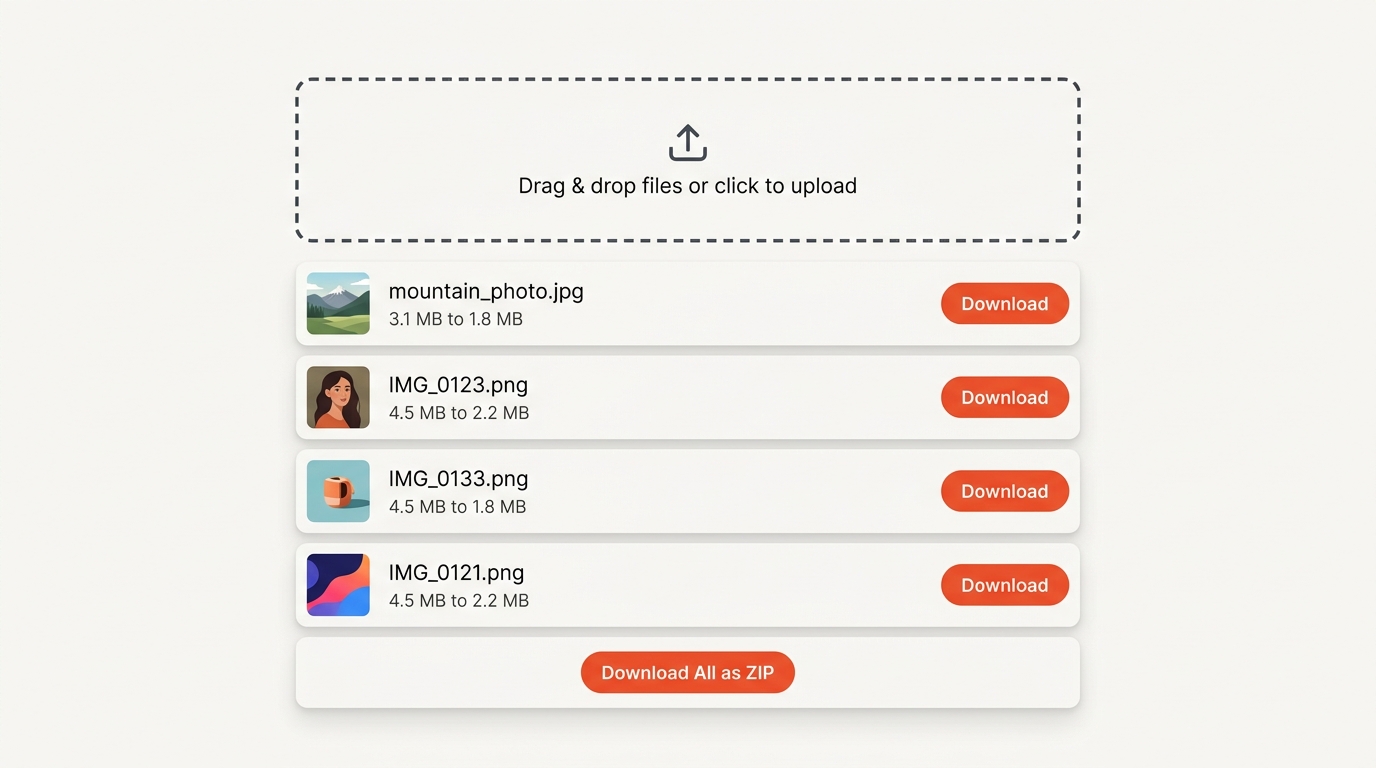
The fastest route that works on every device is our HEIC to JPG converter. It decodes the HEIC images on your own computer, so nothing is uploaded, and you can convert a whole folder in one go.
- Open the tool and drop up to 20 HEIC or HEIF files onto the page, or click to select them.
- Choose the output format. JPEG is the default and the right choice for compatibility. PNG keeps the image lossless, WebP is smaller for the web.
- Set the quality. 90 is a good default for photos you want to keep.
- Download each converted image, or all of them as a ZIP. The process takes about a second per photo.
Safari decodes HEIC natively. Chrome, Edge and Firefox load a small decoder the first time, which takes a second or two. Either way your photos never leave your computer, which matters when the batch is family pictures.
How to convert HEIC to JPG on Windows
Windows 10 and 11 can open HEIC images, but only after you install the free HEIF Image Extensions from the Microsoft Store. Search for it in the Store app, click Get, and the Photos app will display HEIC files from then on.
To convert one file:
- Open the HEIC image in the Photos app.
- Click the three-dot menu at the top right and select Save as.
- Choose JPEG as the file format and save.
For a folder of photos this process becomes tedious. The browser tool above handles 20 images at a time, and for hundreds of files a desktop utility with a batch mode is the better option. If the Store extension is not available to you, the browser converter works without any installation.
How to convert HEIC to JPG on a Mac
macOS has supported HEIF since High Sierra, so a Mac displays the images without extra software. You still need to convert them for Windows users, web uploads and most print shops. There are two built-in ways on the Mac, and both are quicker than any app.
In Finder, for batches. Select the HEIC photos, right-click and choose Quick Actions, Convert Image. Pick JPEG as the format and an image size, and Finder writes JPEG copies next to the originals. Using Quick Actions, Convert Image is the quickest method on the Mac and handles dozens of images at once.
In Preview, for single photos. Open the image in Preview, choose File, Export. Select JPEG in the Format menu, adjust the quality slider and save. Preview can also export several images in one go if you select them all in the sidebar first.
Both methods keep the original HEIC image untouched, while the new JPEG sits next to it.
How to convert HEIC to JPG on iPhone or iPad
The iPhone itself can hand over JPEG images without any app.
- When sharing: Photos you send by Mail, Messages or AirDrop to a non-Apple device are converted to JPEG automatically. Share to a Windows PC and you get a JPEG image.
- When importing by cable: Open Settings, Photos, scroll to Transfer to Mac or PC and choose Automatic. The iPhone converts HEIC images to JPEG as it copies to a Windows machine.
- For files already on the phone: Open the photo in the Files app or Photos app, choose Save to Files, and use the Shortcuts app with a Convert Image action, or simply use our browser converter in Safari.
The cleanest long-term fix is to stop the problem at the source, which brings us to the next question.
How do I stop my iPhone from saving HEIC?
Open Settings, Camera, Formats and switch from High Efficiency to Most Compatible. From then on the camera saves JPEG images and the video records in H.264 instead of HEVC.
The trade-off is storage. JPEG photos take roughly twice the space on the phone and in iCloud. If storage is tight, keep the high efficiency format on the phone and convert only the photos you need to share. Existing HEIC photos stay as they are either way, so this setting does not retroactively change your library.
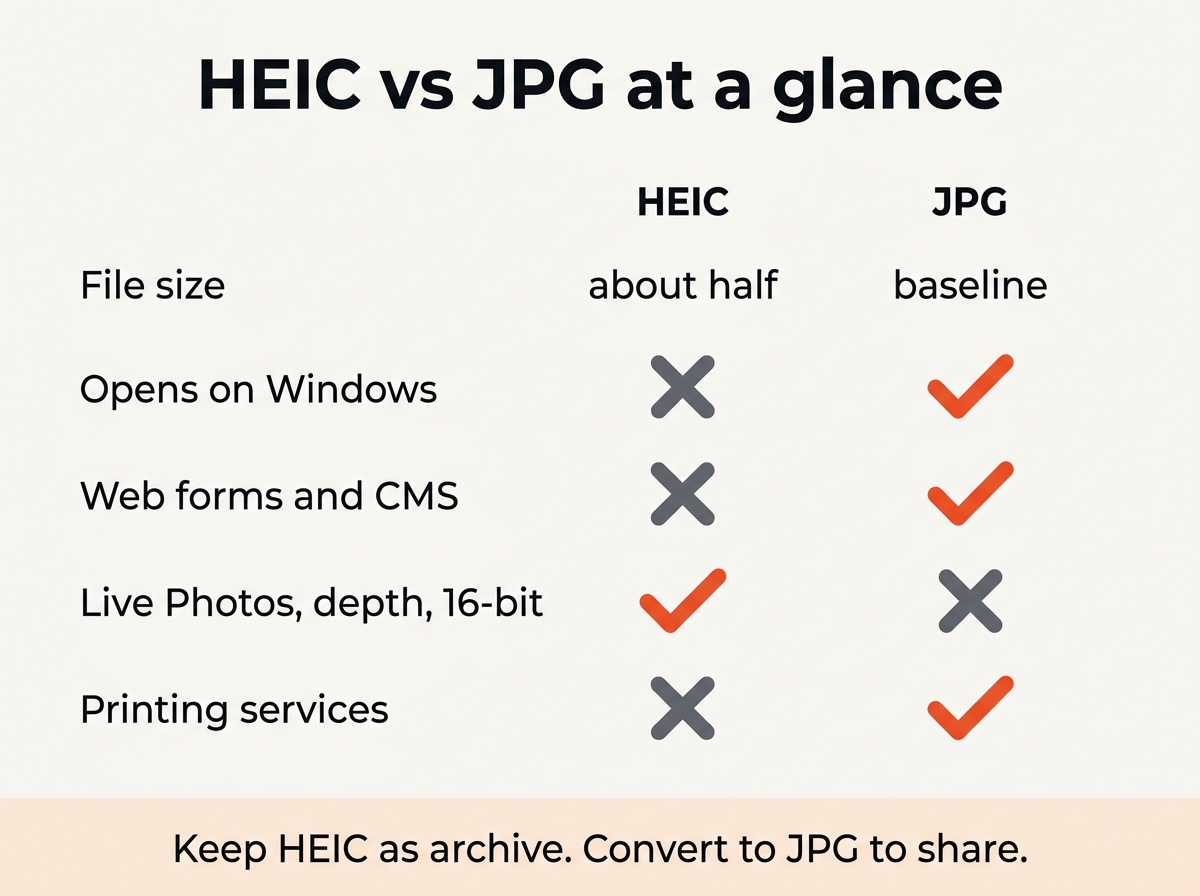
HEIC or JPG: which should you keep?
| HEIC | JPG | |
|---|---|---|
| File size | about half | baseline |
| Quality at same size | higher | lower |
| Displays on Windows without setup | no | yes |
| Accepted by web forms and CMS | rarely | always |
| Live Photos, depth, 16-bit color | yes | no |
| Printing services and kiosks | rarely | yes |
The sensible split: keep HEIC as your archive on Apple hardware where it saves storage, and convert to JPEG whenever an image leaves that ecosystem. If you manage images for a website, convert once more into WebP or AVIF for publishing, as our guide to image formats explains. Some sites support all four formats, many others only the classic ones.
Frequently asked questions
Can I convert HEIC to JPG without installing anything?
Yes. The browser converter above runs in Safari, Chrome or Edge without installation, and on a Mac the Finder Quick Action is built in.
Why does Windows not open HEIC files?
Microsoft ships the decoder as a separate download, the HEIF Image Extensions, because the underlying codec is patent licensed. Install it once from the Store and the Photos app handles the format like any other.
Is the converted JPG larger than the HEIC?
Usually yes, by 50 to 100 percent. JPEG is an older, less efficient format. If size matters more than image quality, run the result through the image compressor afterwards.
What is the difference between HEIC and HEIF?
HEIF is the container format, HEIC is the file extension Apple uses for HEIF images compressed with HEVC. In everyday use the two names mean the same thing, and every converter that supports one supports the other.
Do I lose EXIF data when converting?
The browser tool and the built-in Apple methods keep camera data and the capture date. GPS coordinates are kept too, so remove them separately if you plan to publish the image.
The short version
On a Mac, select the photos and use Quick Actions, Convert Image in the Finder. On Windows, install the HEIF extension and use Save as in Photos. Everywhere else, drop the images into the browser converter. And if you never want to see a .heic file again, set the camera to Most Compatible.