How to Crop a Screenshot on Mac: 5 Ways
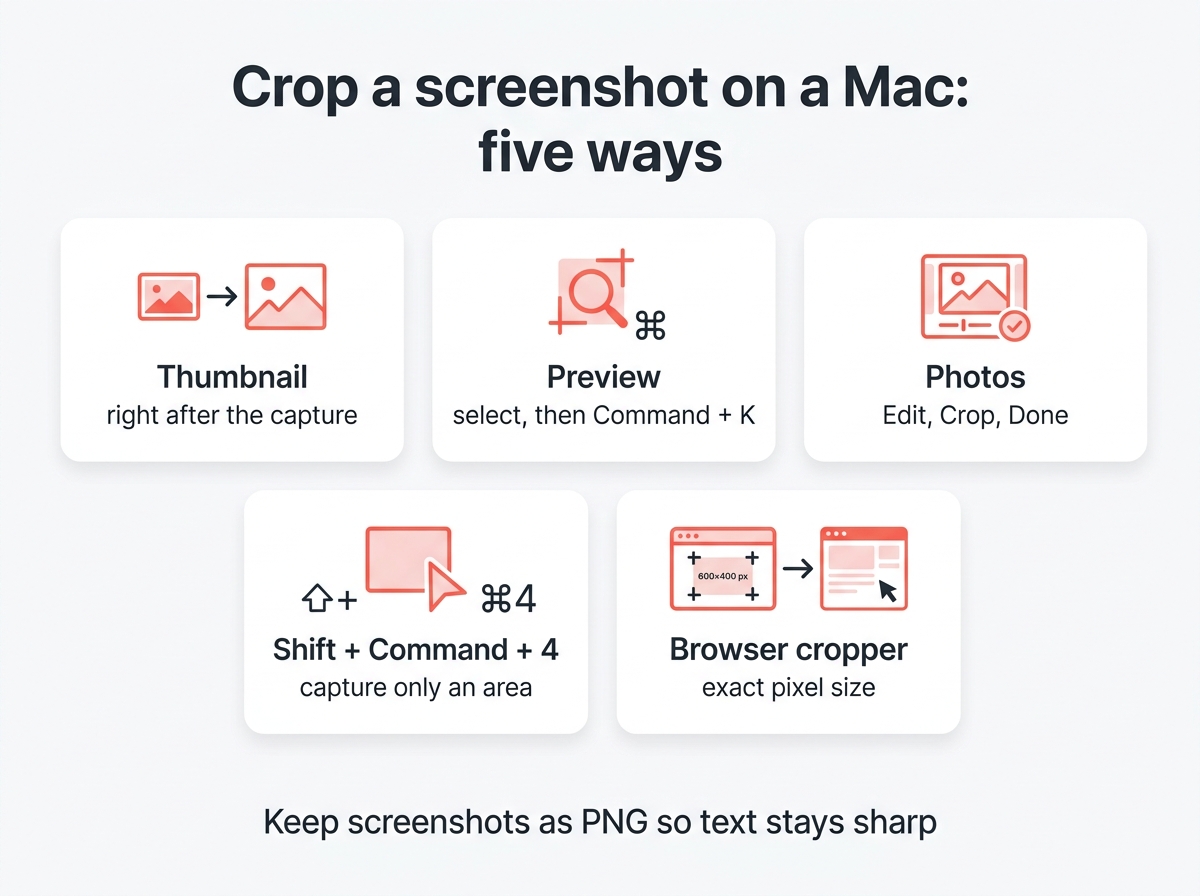
You took a screenshot on your Mac and it shows the whole desktop when you only wanted one dialog box. Cropping fixes that in seconds, and macOS gives you several ways to crop a screenshot: directly in the thumbnail that appears after the capture, in Preview, in Photos, or by capturing only the area you want in the first place. Here is how each method works, with the keyboard shortcuts that save you the most clicks. Once you know them, you can crop any screenshot on your Mac in under ten seconds.
1. Crop right after taking the screenshot
The fastest way to crop a screenshot on your Mac. After you press Shift + Command + 3 or 4, a thumbnail of your screenshot appears in the bottom right corner for a few seconds.
- Click the thumbnail before it slides away.
- In the editing window, click the crop tool in the toolbar.
- Drag the corners or edges of the frame to select the area you want to keep.
- Click Done. The cropped screenshot is saved to your desktop, replacing the full capture.
The same window offers Markup tools for arrows, text and highlights, so you can crop and annotate your screenshot in one step. This is the method most Mac users end up using every day.
2. Crop a saved screenshot in Preview
For a screenshot you took earlier, Preview is the built-in editor, and cropping a screenshot using Preview takes five steps. Find the file in Finder (screenshots land on the desktop by default) and open it. Apple documents the steps in its Preview user guide:
- Open the screenshot in Preview (double-click the file).
- Click the Markup toolbar button, the pen tip icon, if the toolbar is hidden.
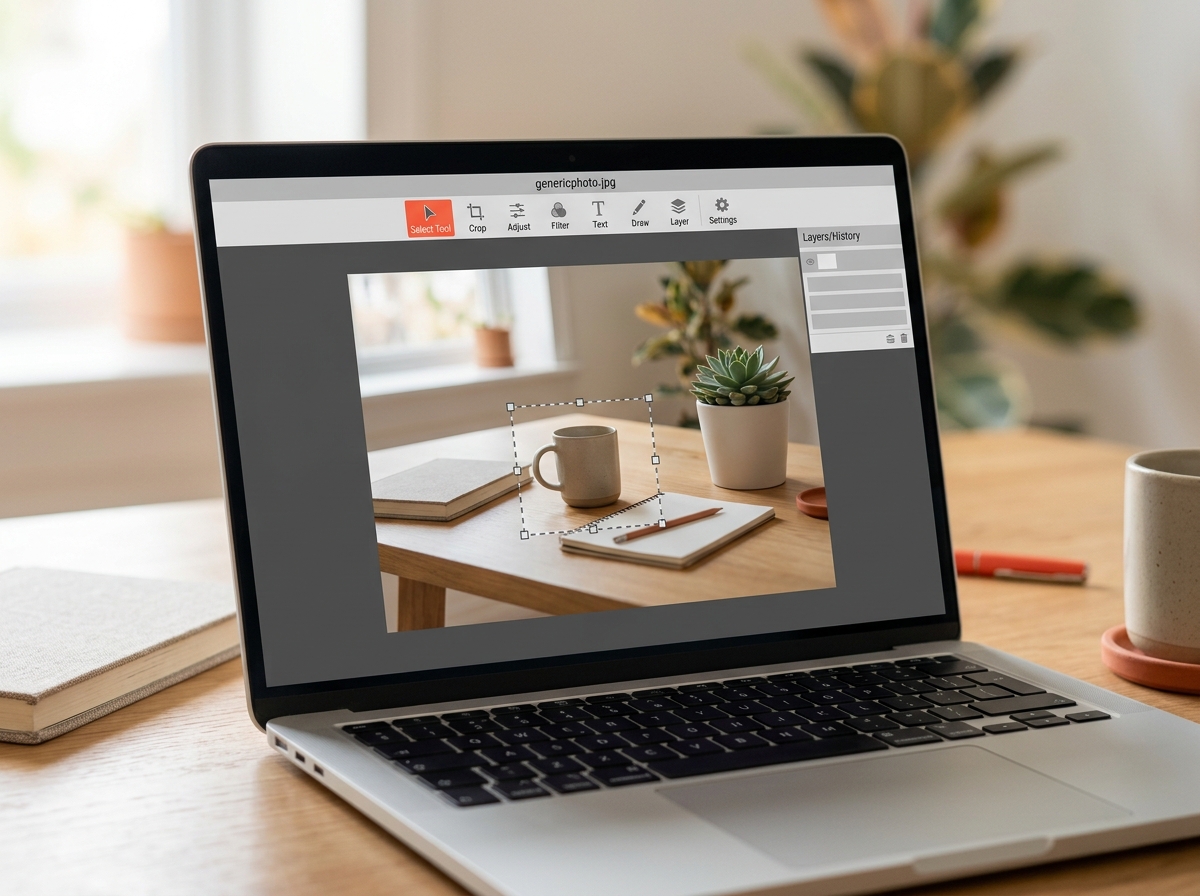
- Choose the Rectangular Selection tool and drag to select the area you want to crop to.
- Once the selection looks right, press Command + K, or click Crop in the toolbar.
- Save with Command + S. The cropped image replaces the original unless you use Duplicate first.
For an exact pixel size, open Tools, Show Inspector, and type width and height in the Crop Inspector before you crop. If you change your mind, Edit, Undo Crop restores the original, and File, Revert To, Browse All Versions brings back an earlier version even after saving. Preview can help with more than cropping: the same toolbar rotates, resizes and annotates.
3. Crop in Photos
If your screenshots end up in the Photos app, for example because you took them on an iPhone and they synced over iCloud, you can crop them using the Photos editor:
- Open the screenshot and click Edit in the top right.
- Click Crop in the toolbar.
- Drag the frame to select the area you want, or choose an aspect ratio from the list on the right.
- Click Done. Your cropped screenshot is now ready to share.
Photos keeps the original; Revert to Original in the Edit menu undoes every change later.
4. Capture only part of the screen
The best crop is the one you never have to make. Shift + Command + 4 turns the cursor into a crosshair; drag over the area you want to capture and release. Press Space while dragging to move the selection, hold Shift to lock one edge, or hold Option to resize from the center. Shift + Command + 4 followed by Space captures a single window with its shadow, which is usually exactly the crop you want. Taking a screenshot using this shortcut saves the cropping step entirely.
Shift + Command + 5 opens the screenshot toolbar with the same options plus a timer and a choice of save location. The full list of combinations for your Mac is in the guide on how to screenshot on a Mac.
5. Crop to an exact size in the browser
When a screenshot has to be exactly 1200 by 630 pixels for a social preview, or a fixed ratio for a slide, the image cropper does it in the browser without uploading your image. Pick the ratio or type the pixel size, drag the frame over the selected area and download. The image resizer scales the cropped image if it also needs to be smaller. These tools are useful when the Mac methods above do not offer the exact size you need.
Tips before you share
- Remove private details. Cropping out the menu bar hides your name, open apps and the time. Markup’s rectangle tool can cover anything else in your screenshot.
- Keep the PNG for text. Screenshots with text stay sharp as PNG; converting to JPG blurs letters. Only switch to JPG for photographic content.
- Watch the file size. A full Retina screenshot runs 3 to 6 MB. The image compressor brings it down for email or chat.
- Long pages need a different tool. A normal capture only shows the visible part of a web page; the guide on scrolling screenshots covers the whole page.
Quick answers
How do I crop a screenshot on a Mac after taking it? Click the thumbnail in the bottom right corner, use the crop tool, then click Done. For an older file, open it in Preview through Finder.
Is there a shortcut to crop on a Mac? In Preview, select the area and press Command + K. There is no system-wide crop shortcut.
How do I crop a screenshot on Mac without Preview? Use the thumbnail editor right after the capture, the Photos app, or a browser cropper.
How do I take a screenshot of only part of the screen? Press Shift + Command + 4 and drag over the area.